
Table of Contents
Painted wooden staircases are becoming increasingly popular, and it’s not surprising given that they make a compelling statement in most homes.
Staircases can be painted to complement your classic or contemporary interior décor.
Depending on the look you want to achieve, you could paint it a bold colour that draws the eye or a neutral shade that ensures consistency.
Either way, a painted staircase is guaranteed to give your home a fresh new look for a fraction of the price of a refurbishment project.
But you must choose the right paint and apply it properly – otherwise, your painted wooden staircase could pose a serious health and safety risk, not to mention upset the aesthetic!
Allow us to share some tips on how to paint your wooden stairs, ensuring a stunning finish that’s safe for everyone to walk on.
Select a suitable paint
Deciding which paint to use for your stairs can be tricky – especially with so many lovely colours to choose from.
However, the best type of paint for wooden stairs and floors is one that’s durable and hardwearing.
Take semi-gloss paint, for example. This is often the go-to choice for painted wooden staircases because it’s incredibly durable, looks great and can endure heavy foot traffic.
A matt or eggshell finish will withstand general wear and tear from daily use, too.
When shopping for paint, it’s also worth buying a wood primer or undercoat. This will allow the paint to stick to the wood, ensuring full coverage.
Prepare your staircase
Once you’ve chosen a paint and primer, the next step is to clean your staircase from top to bottom.
If any stair parts show notable wear and tear, they’ll need sanding down with sandpaper or a sander.
Then, using either a dustpan and brush or the special attachment on your hoover, remove dirt, dust and debris to ensure a bump-free painted finish.
If you previously had carpets fitted on your wooden stairs, check for nails and staples and remove them. If you spot any holes, fill them with a good-quality wood filler.
Tape off areas (if needed)
If you’re planning to paint your stairs in different colours, it’s a good idea to use masking tape to mark out your design. This will ensure clean lines and, as it’s only delicate, it’ll cause the least amount of damage to painted surfaces – requiring just a quick touch-up at the end.
You might also consider using tape to cover bannisters and any other stair parts that you don’t want to accidentally spill paint on. Once you’re ready to paint them, carefully peel the tape off.
Prime your stairs
Primer needs to be applied to the bare wood (and left to dry) before you begin painting.
Starting at the top and working your way down the staircase is the best way to go, as it will prevent you from touching the primer when it’s still tacky.
When applying the primer, try not to overload your paintbrush and gently dab it into difficult areas before brushing it out.
It’s often easier to prime the front edge of the tread first, then the edges of the riser before moving on to the tread below.
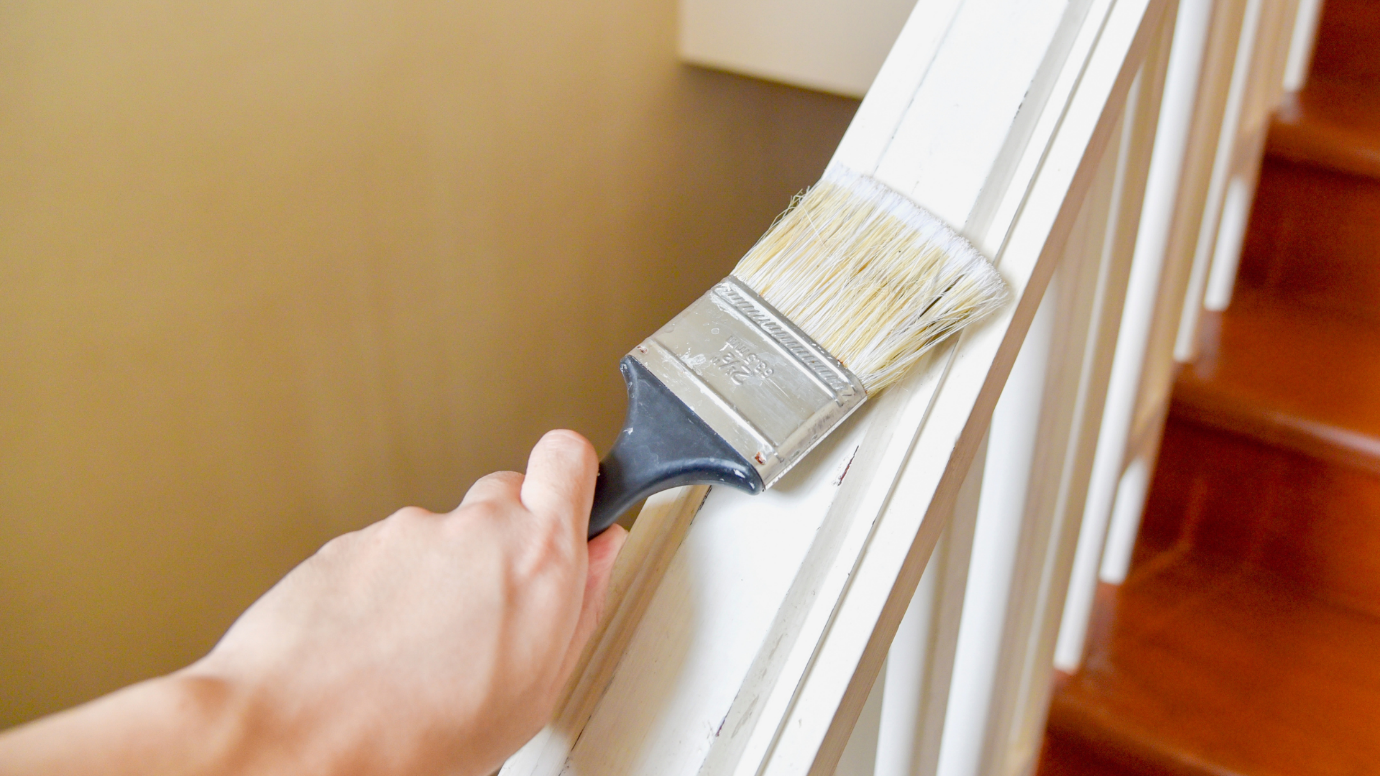
Use a large brush
Paint rollers are great for painting larger flat areas, like treads and risers. However, they can’t reach joints and corners as well as brushes.
With a large paintbrush, you can cover every step and get into the nooks and crannies that a roller wouldn’t be able to. You may wish to use a smaller brush for fiddly stair parts, such as the spindles or underneath the bannister.
Again, you need to start from the top and sides of the staircase and gradually work your way down – taking care not to lean on the walls or put your hands on the step you’ve just painted.
Remember to use even brush strokes from one side to the other (left to right if you’re right-handed) and repeat for the rest of your wooden staircase.
Allow the paint to dry
Often, the first coat of paint will take between 4-6 hours to dry. For the most durable finish, you’ll need to apply at least 3 coats.
To allow the paint plenty of time to dry and harden, it’s worth doing one coat each morning or evening. And make sure everyone takes their shoes off when going up and down the stairs, at least until you’ve finished painting.
Varnish the stairs (optional)
If you’d like to give your painted wooden staircase a final layer of protection, why not add a layer of varnish?
Aside from sealing the paint and preventing it from chipping, it’ll also give your staircase a stunning glossy finish – making it impossible for visitors not to notice when they enter your home.
One coat of varnish is usually enough to give your painted staircase a shiny new look without making it dangerously slippy.
And that’s it!
If you have any further questions about painting your wooden staircase or you’d like to design a brand-new painted wooden staircase, be sure to get in touch with staircase specialists.
They’ll discuss your requirements in more detail and offer expert guidance and advice, should you need it.